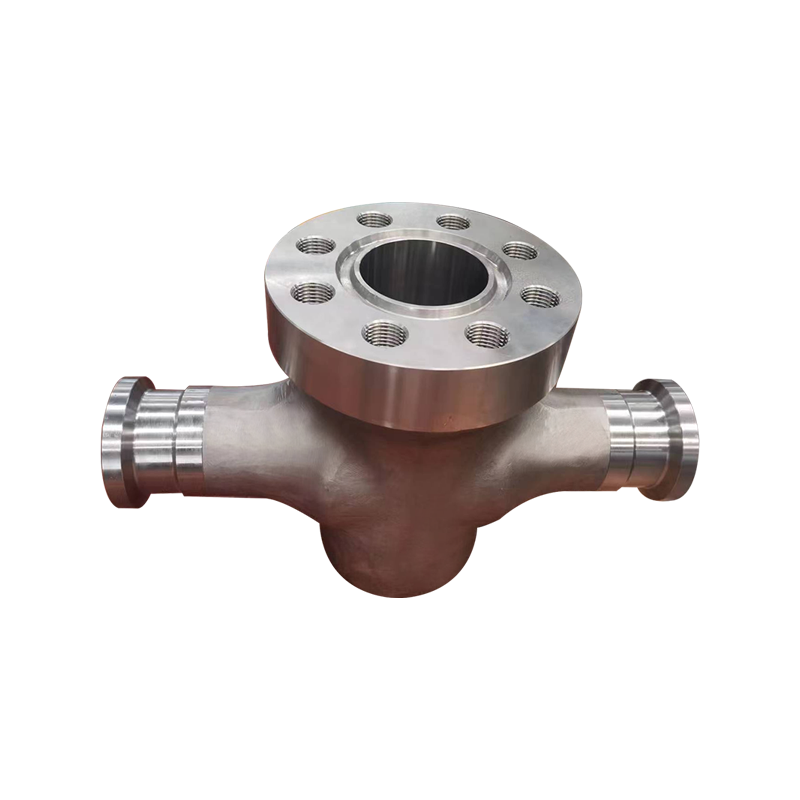
The performance of any fluid control system is directly tied to the uncompromised quality of its machined valve parts. To guarantee safety, reliability, and regulatory compliance, the industry employs a rigorous, multi-stage quality control (QC) process, with a heavy reliance on specialized inspection and Non-Destructive Testing (NDT) methods.
Phase 1: Quality Control and Dimensional Verification
Quality control for machined valve parts begins with the raw material and continues through every stage of the machining process.
-
Material Certification (3.1/3.2): Before any metal is cut, the raw material (bar stock, forging, or casting) must be verified. This involves reviewing the Material Test Certificates (MTCs), typically a 3.1 or 3.2 certificate per EN 10204, to ensure the chemical composition and mechanical properties precisely match the design specifications (e.g., ASTM/ASME grades). For critical service, Positive Material Identification (PMI) is often performed on the finished part to confirm the material integrity on the spot.
-
Dimensional Inspection: Precision is paramount for components that must seal and move reliably.
- Measurement Tools: Technicians use high-precision instruments such as micrometers, calipers, thread gauges, and bore gauges.
- Coordinate Measuring Machines (CMM): For complex or high-tolerance parts like valve stems and plugs, CMMs are used to measure dimensions in three axes, ensuring that all features are within the strict geometrical tolerances specified in the engineering drawings.
- Surface Finish: The smoothness of sealing and sliding surfaces is measured using a profilometer to verify the required roughness values, such as $R_a$ (average roughness).
-
First Article Inspection (FAI): Before a production run commences, the first piece (or a small sample batch) is thoroughly inspected against every specification on the drawing to confirm the machining setup is correct.
Phase 2: Non-Destructive Testing (NDT)
NDT methods are essential for finding internal or surface defects that are invisible to the naked eye without damaging the integrity of the finished machined valve parts.
| NDT Method | Detection Focus | Key Application on Valve Parts |
|---|---|---|
| Liquid Penetrant Testing (PT) | Surface-breaking discontinuities (cracks, porosity, laps) | All non-porous materials (stainless steel, carbon steel, non-ferrous alloys). Ideal for surface inspection of precision-machined seats and discs. |
| Magnetic Particle Testing (MT) | Surface and near-surface discontinuities | Ferromagnetic materials (Carbon Steel, Alloy Steel). Used on stem shoulders and threads. |
| Ultrasonic Testing (UT) | Internal defects (voids, inclusions, internal cracks) and wall thickness | Volumetric inspection of critical, heavy-section parts like valve bodies and bonnets to ensure material soundness. |
| Radiographic Testing (RT) | Internal defects (porosity, shrinkage, inclusions, weld integrity) | Inspection of castings or welds where internal voids are a concern. Provides a permanent visual record (X-ray film). |
| Visual Testing (VT) | Surface conditions (burrs, tool marks, corrosion, dents) | The most fundamental NDT method, performed on all surfaces. |
Phase 3: Industry Standards and Codes
Manufacturers of machined valve parts must adhere to stringent industry standards, most notably those published by the American Society of Mechanical Engineers (ASME) and the American Petroleum Institute (API).
| Standard | Scope and Relevance to Machined Parts |
|---|---|
| ASME B16.34 | The foundational standard covering pressure-temperature ratings, dimensions, materials, and testing for flanged, threaded, and welding-end industrial valves. It dictates the dimensional tolerances for the machining of critical connecting components. |
| API 598 | Specifies the inspection and pressure testing requirements for valves, including hydrostatic shell tests and low-pressure seat leakage tests, which directly verify the success of the precision machining on the sealing surfaces. |
| API 600 | Specifically for steel gate valves, it imposes stricter design, material, and quality assurance requirements than ASME B16.34, often requiring heavier wall thicknesses and more rigorous NDT for components used in severe oil and gas service. |
By integrating these precise measurement techniques and NDT procedures, manufacturers ensure that every machined valve part is fully fit-for-purpose, capable of withstanding the demanding operational stresses it will face in the field.
Would you be interested in an article detailing the specific machining challenges related to manufacturing valve seats and stems from high-hardness materials like Stellite?

 English
 русский

